Northern Section
Northern Section
PRIMULAS FROM SEED
How to grow Primula from seeds.
Where do you start? Well I think seeds come first. If you have collected your own seeds, dry them, and put them in either glassine packets or envelopes, clearly labelled with their name and date. Put the packets into a sealed glass jar (a screw top jam jar is ideal) in the fridge. If you are buying your seeds from the NAPS Northern Seed Exchange, when you get them put them straight into the jar. Primula seed can be short lived if not stored this way, and garden centres seem to display their seeds where the sun's rays can fall on them so the seed is not viable, even before you buy it. When going through a friend's jar she gave me a packet of Primula boveana '09 and they germinated ten years later!
Next is compost. Everyone has their own recipes, from using Multi-purpose straight out of the bag to complex combinations. I usually use the following well mixed:-
- 4 x John Innes Seed compost
- 2 x Humax multi-purpose compost
- 1 x Pearlite
- 1 x sharp granite grit
Labels - I colour code each year, using good labels on which pencil lasts well. This year it is red for Primula and blue for Meconopsis and other seeds a yellow one. The name, date sown and where the seed came from is written in pencil and a Dymo label is also attached.
Containers - I find a 3" (8 - 9 cm) square pot is more than sufficient for the number of plants I want to grow.
The pots are filled to within half an inch (12mm) of the rim, and a sprinkling of Osmacote slow release fertiliser is mixed into the top inch. Then the pots are topped with 1/4" (6mm) sharp granite grit.
Sowing - A pinch of seed is sprinkled onto the grit, covering the whole area very thinly, then I use a hand sprayer filled with fresh water to spray the seed into the grit. (I got this idea from our gravel paths where anything seems to grow from seed which falls there.) A layer of grit on top of the compost stops liverwort and moss growing on the compost. The pots are watered from below and allowed to drain.
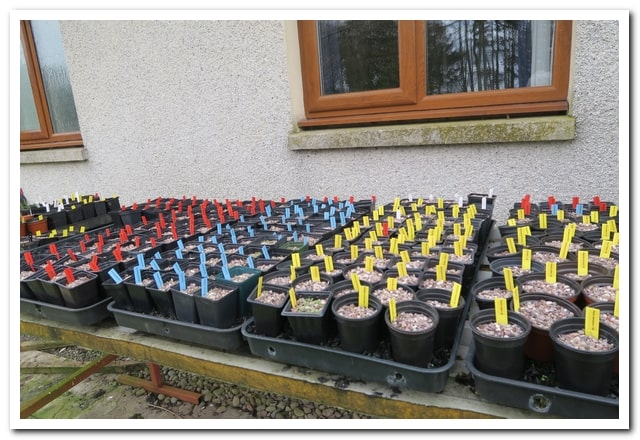
I have a table on the north side of the house, and put large trays, (the size a grow bag will fit into), which have had holes drilled into the sides half way up, and I fill them level with the top with charcoal chips and then fill them with fresh water up to the drainage holes. This gives a nice moist atmosphere, and the charcoal keeps the water "sweet". I think slugs and snails find it difficult to get up to the pots if they have to travel over the charcoal, this is an additional deterrent, compared with putting the pots on the ground.
I start sowing on 1st January and the sown pots are placed on the charcoal to take whatever the weather brings. I have heard that snow aids germination, but that may be an old wives tale.
If sun shines on the pots the tiny seedlings will shrivel up, and you may think the seed was not viable, if you had not noticed them. It is important to put the pots where this will not happen, or to cover them with fleece.
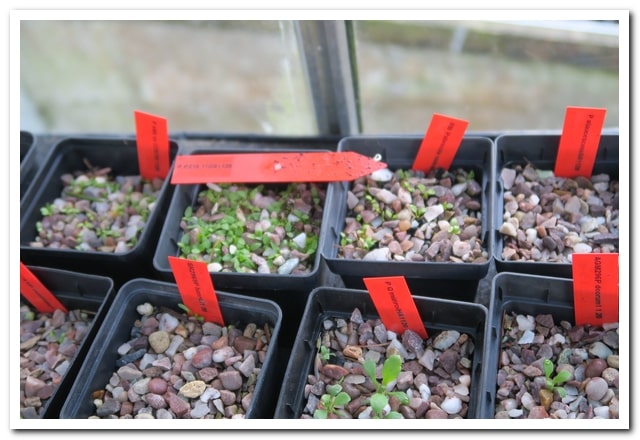
As soon as I see any germination I turn the pot 90 degrees, so I know that has happened, (the postion of the label will indicate this) and the pots get a misting of a weak seaweed or tomato fertiliser solution. As soon as there are a few seedlings in a pot it is taken into my cold north facing greenhouse, and given at least a daily misting of the seaweed solution. The pots may be covered with fleece if they are in a position where the sun comes in, or it is going to freeze.

When the seedlings are just large enough to handle, I prick out about 40 into trays using a similar compost but substituting John Innes No. 1 for the seed compost. They are watered from below and placed in a cool place for a day or two, then put where there is good light on the green house shelves. When they have grown on, I will put them outside to harden off then plant out 4" (100mm) apart in the old vegetable garden in rows to grow on.
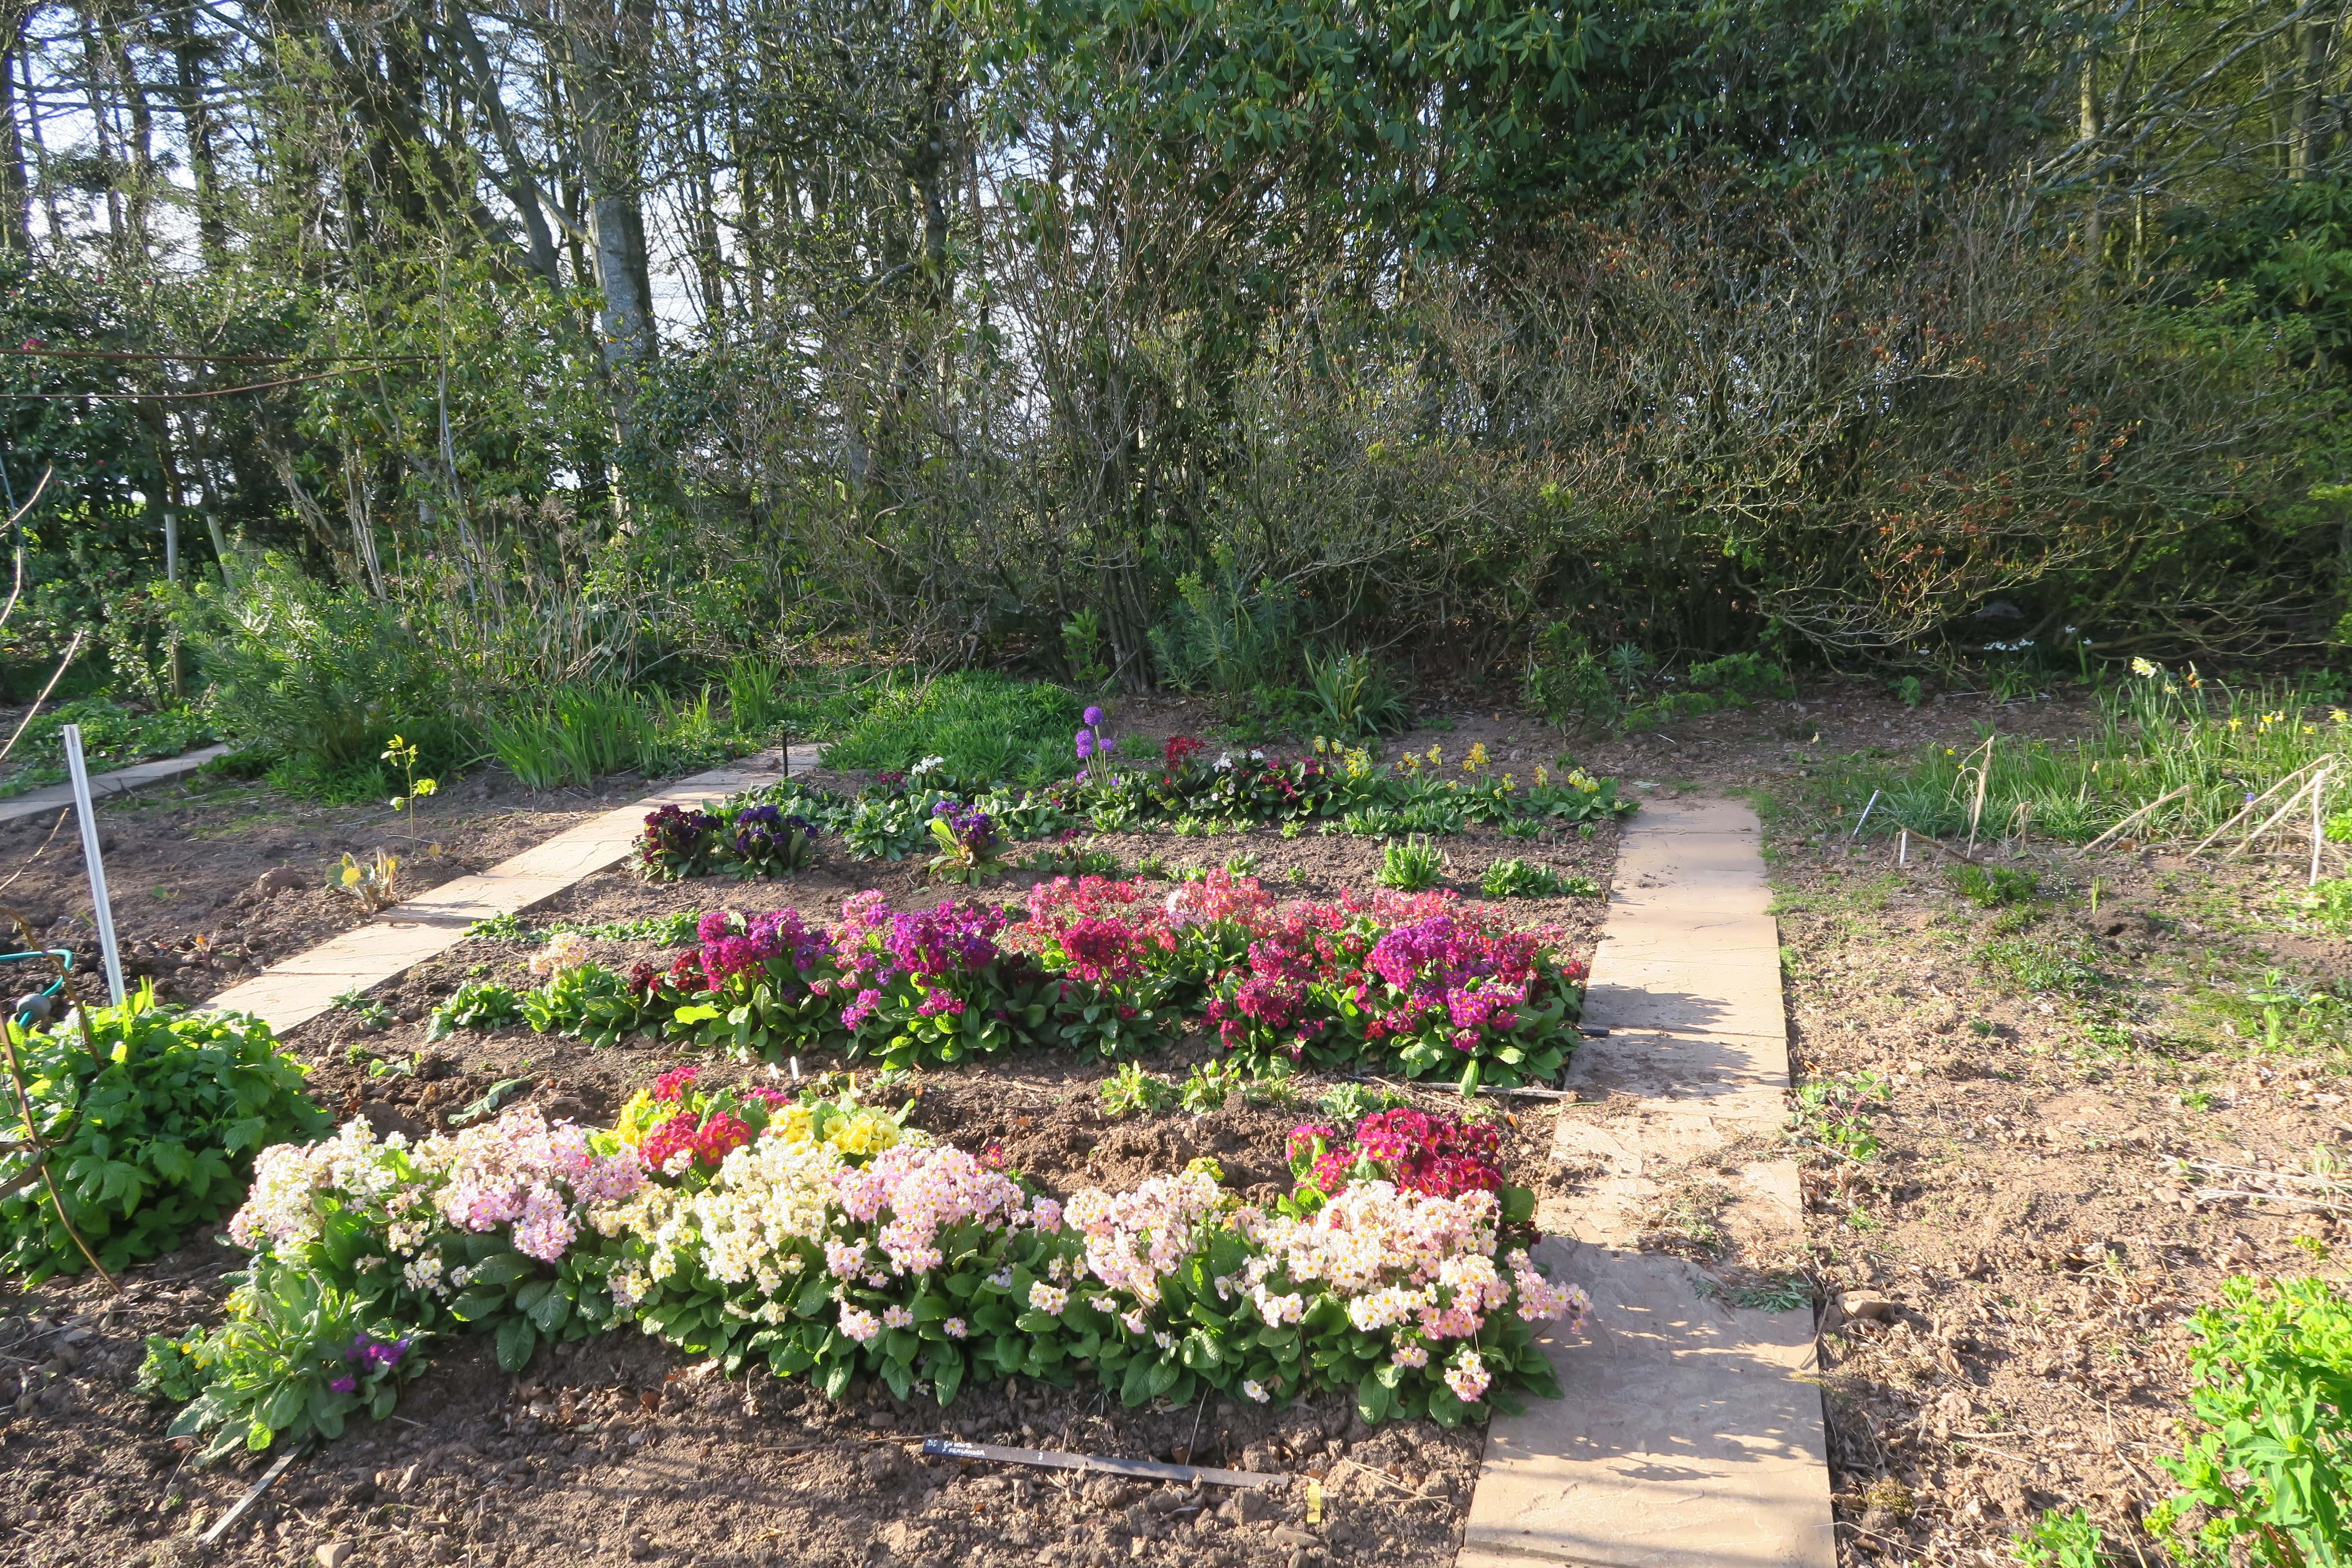
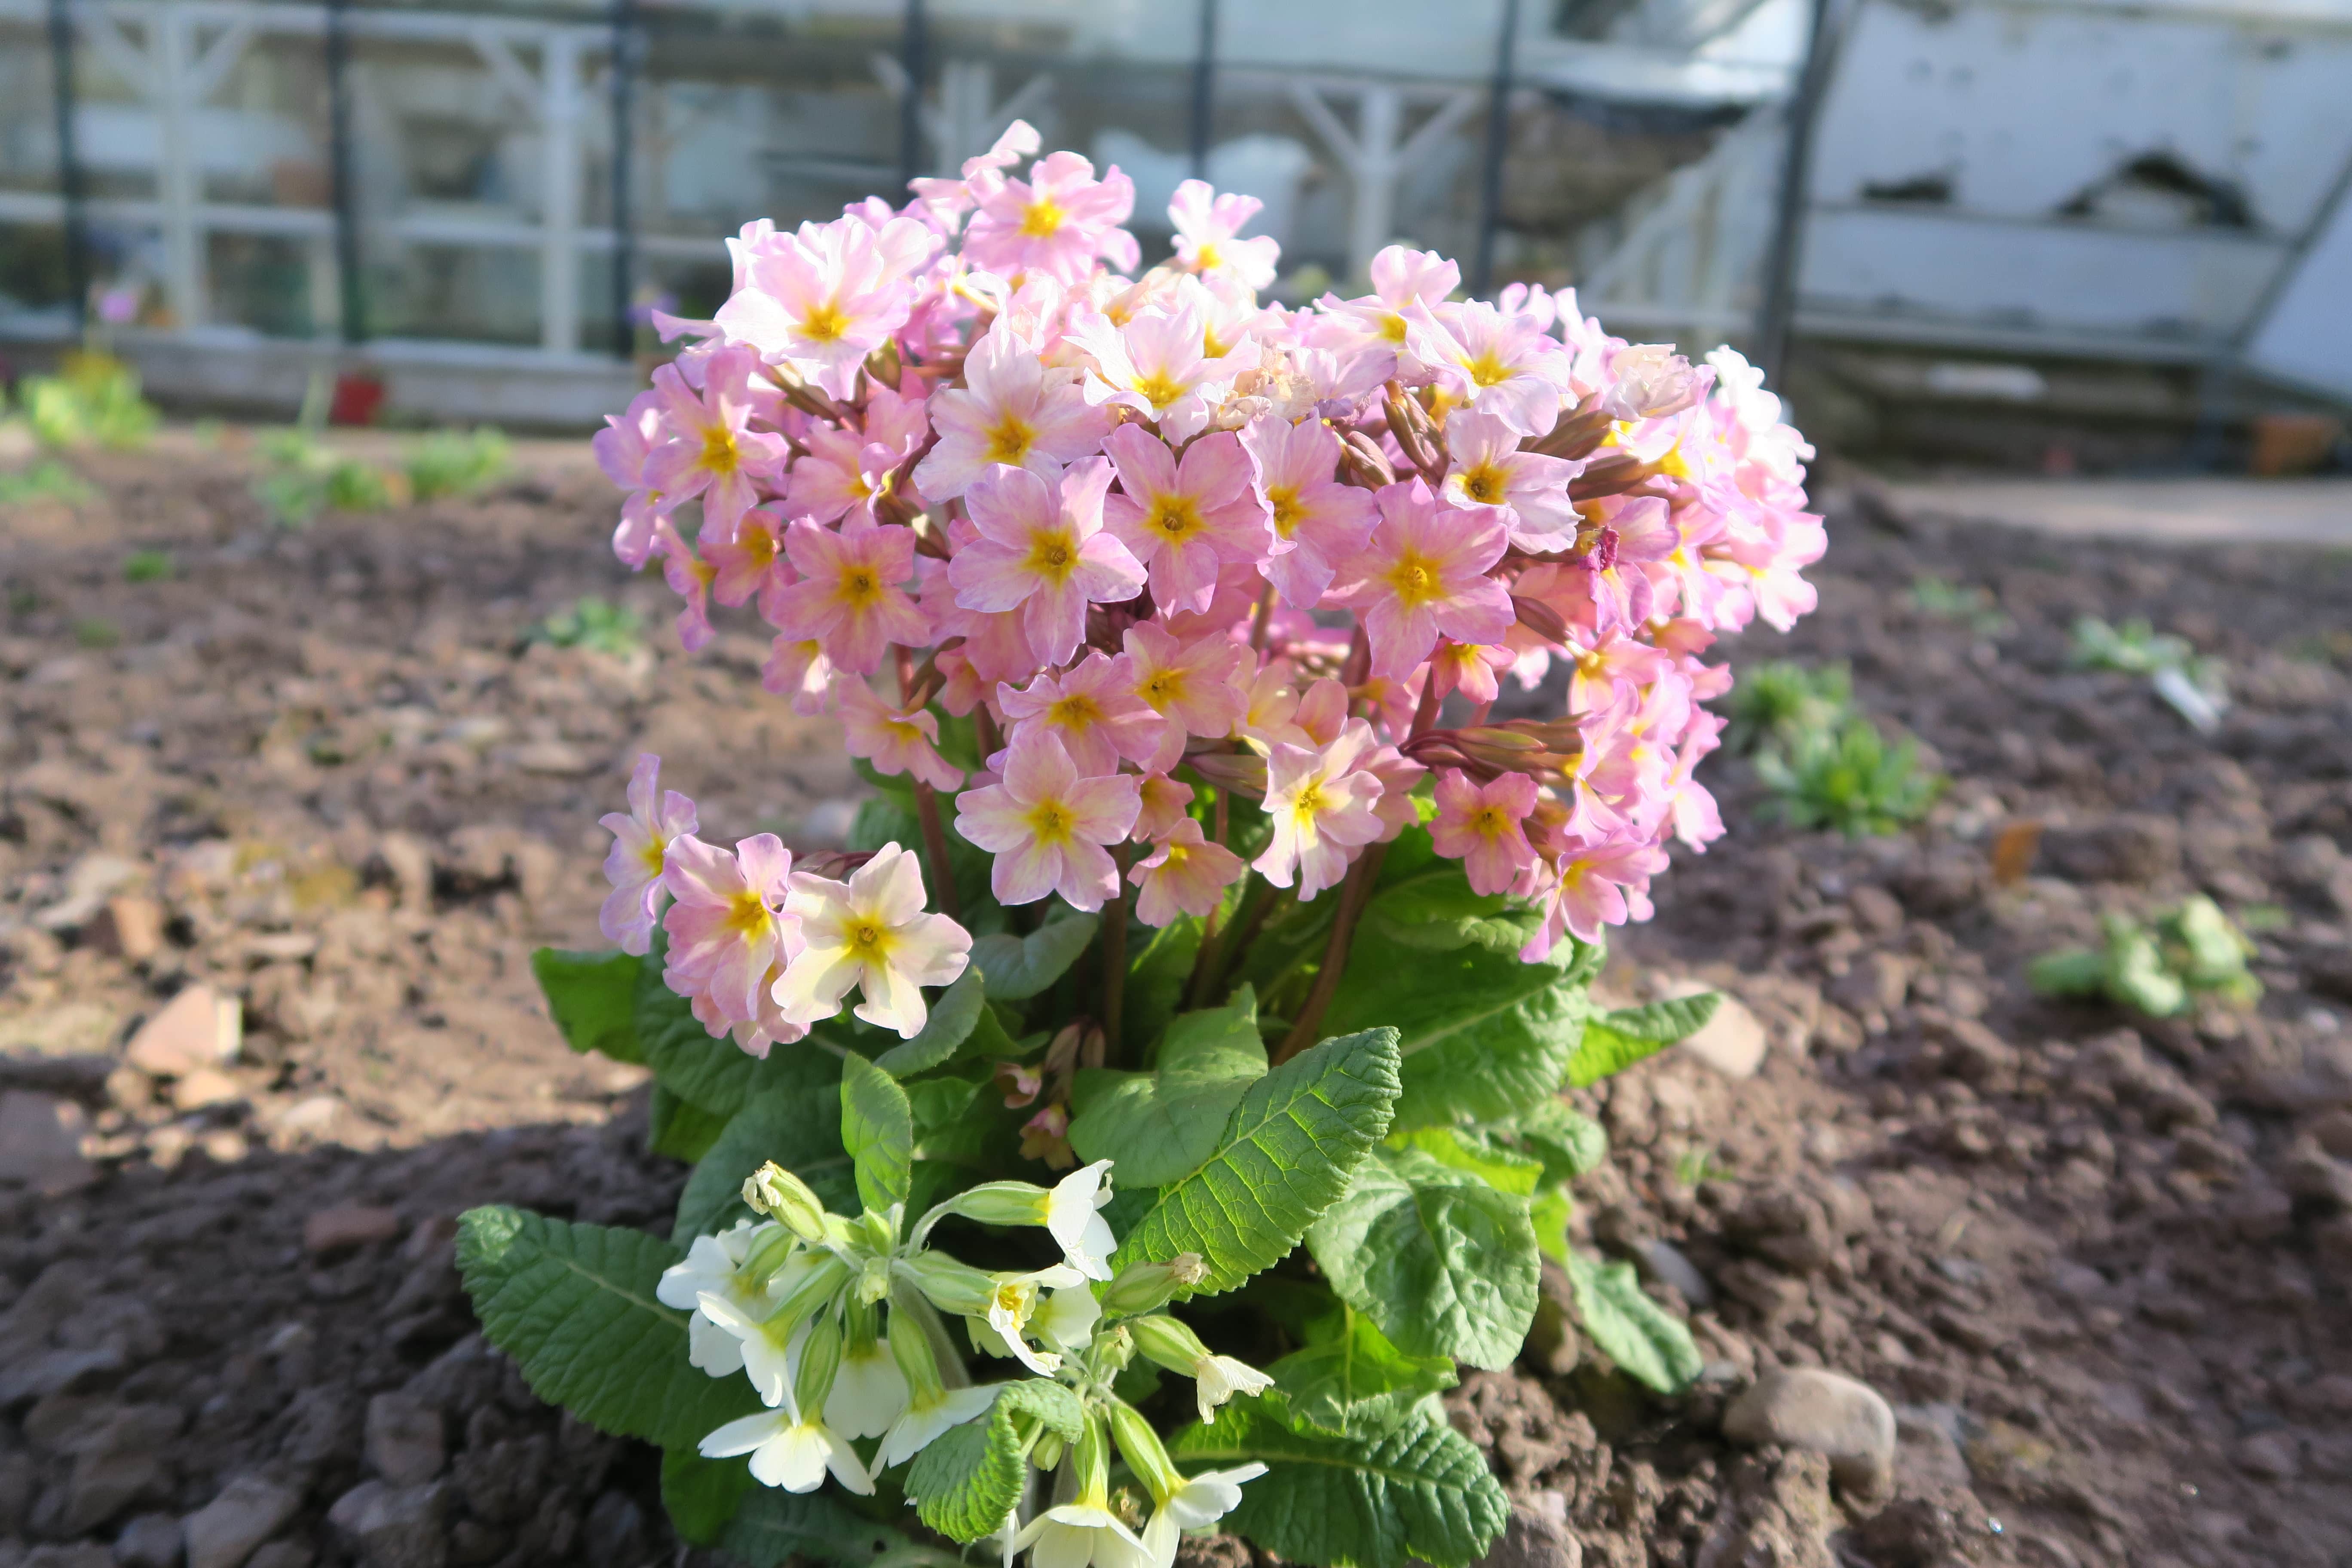
If they have grown on well enough by the autumn they are transplanted into the woodland area, and if not it will be done in the spring.
I hope this is of help and if you try it this way, I do hope it will work for you.
Based on an article originally written and photographed by Jeanie Jones, and printed in the NAPS Society Yearbook 2020.


